I've had my eye on numerous baking blogs and many of them have, at one point in time, made cake pops. The idea intrigued me and as I seem to have extra time on my hands after graduating and waiting for my resume to work its wonders, I decided to use the last of my cake ingredients from the cupboard and try them out.

Following
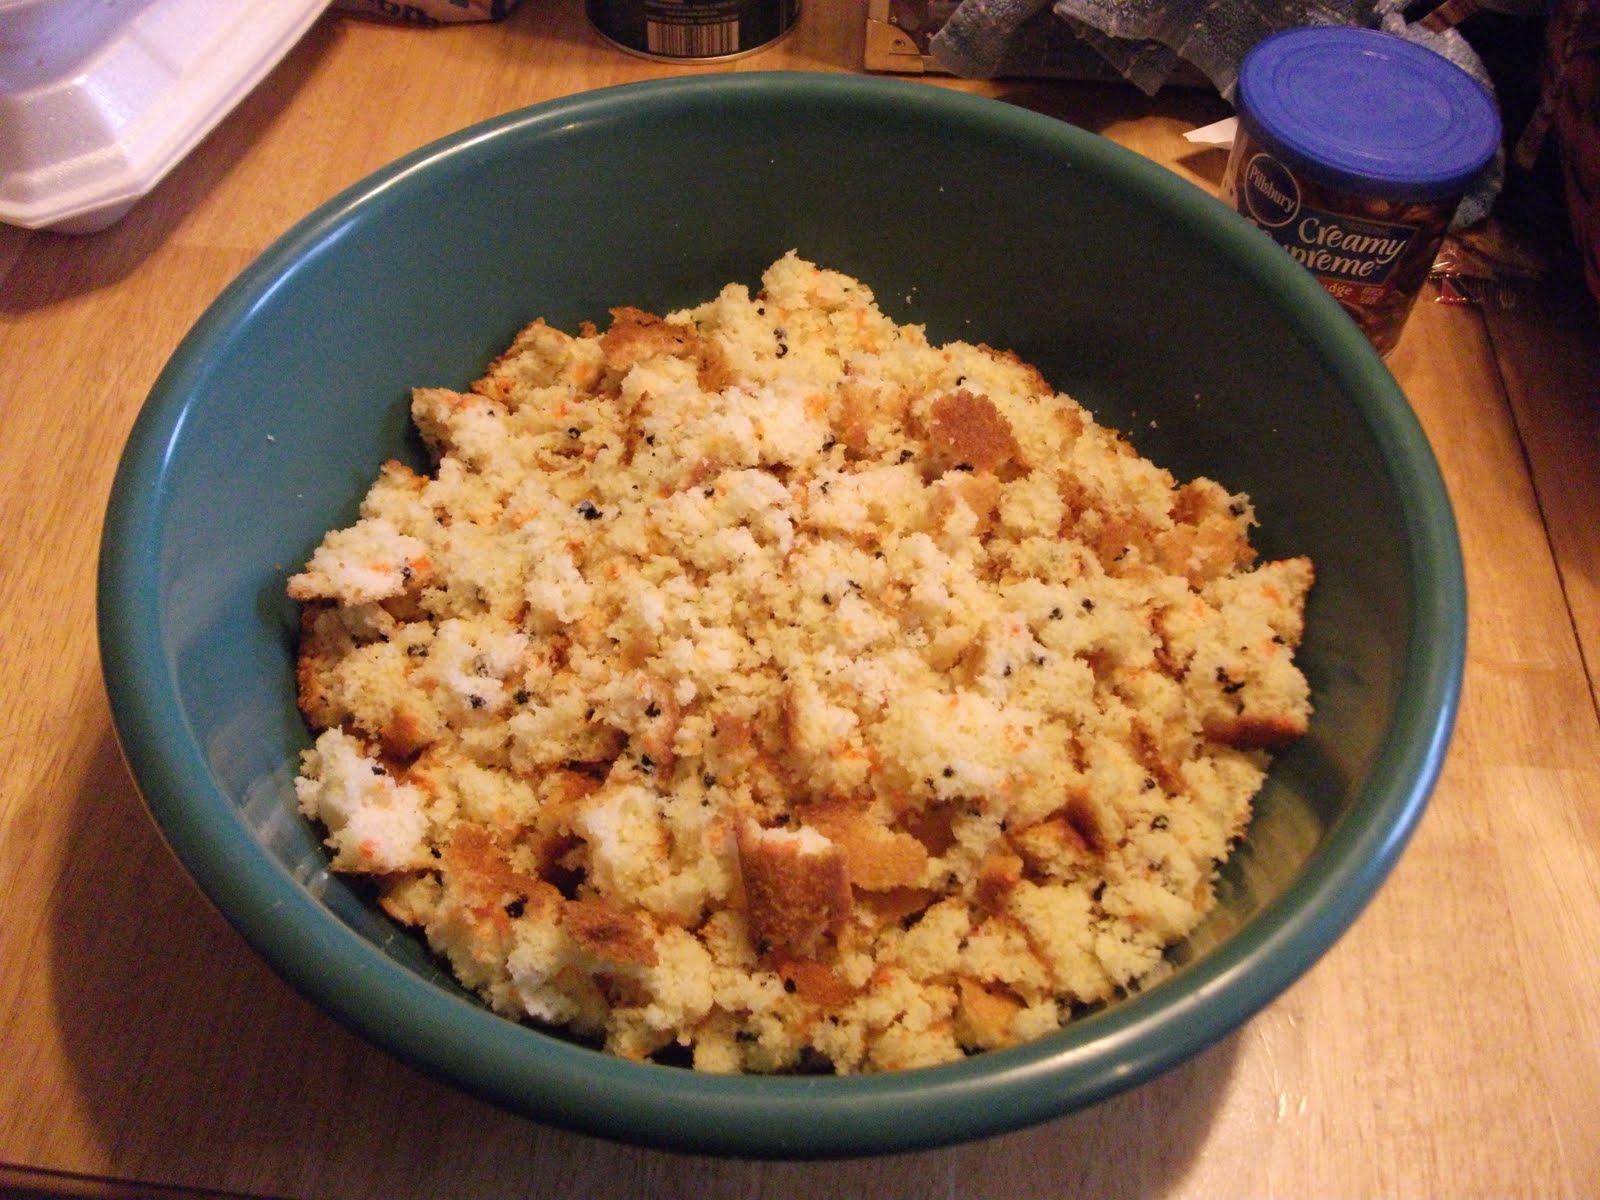
Bakerella's Cake Pop guide, I baked my 1 box of white cake (with black and orange sprinkles!)

Mixed it with 1 can of tasty chocolate frosting that (surprisingly) shrank the volume of mix I had, but still ended up making more than 60 pops.

Roll the mix into small, quarter-sized balls and let chill. While they are chilling, heat up the melting chocolate. Bring out the chilled pan and get your lollipop sticks handy. Dip about half an inch of the stick into the melting chocolate and then insert them halfway into the cake balls.
I had a little snag occur when I realized we had no scrap of styrofoam in the house to place the pops in while they cooled after their chocolate bath. A trip to Walmart created a little bitterness, when it was discovered that they do sell styrofoam, but for $8 a sheet. Well, that was not going to happen. Returning home a tad bit annoyed, I rigged up a stand out from the top of a styrofoam take-home food container stuffed with the remnants of easter basket grass for some semblance of stability. It worked out well enough, but I had to do the pops in batches of 9 until they were cool enough to move and not smear the chocolate.
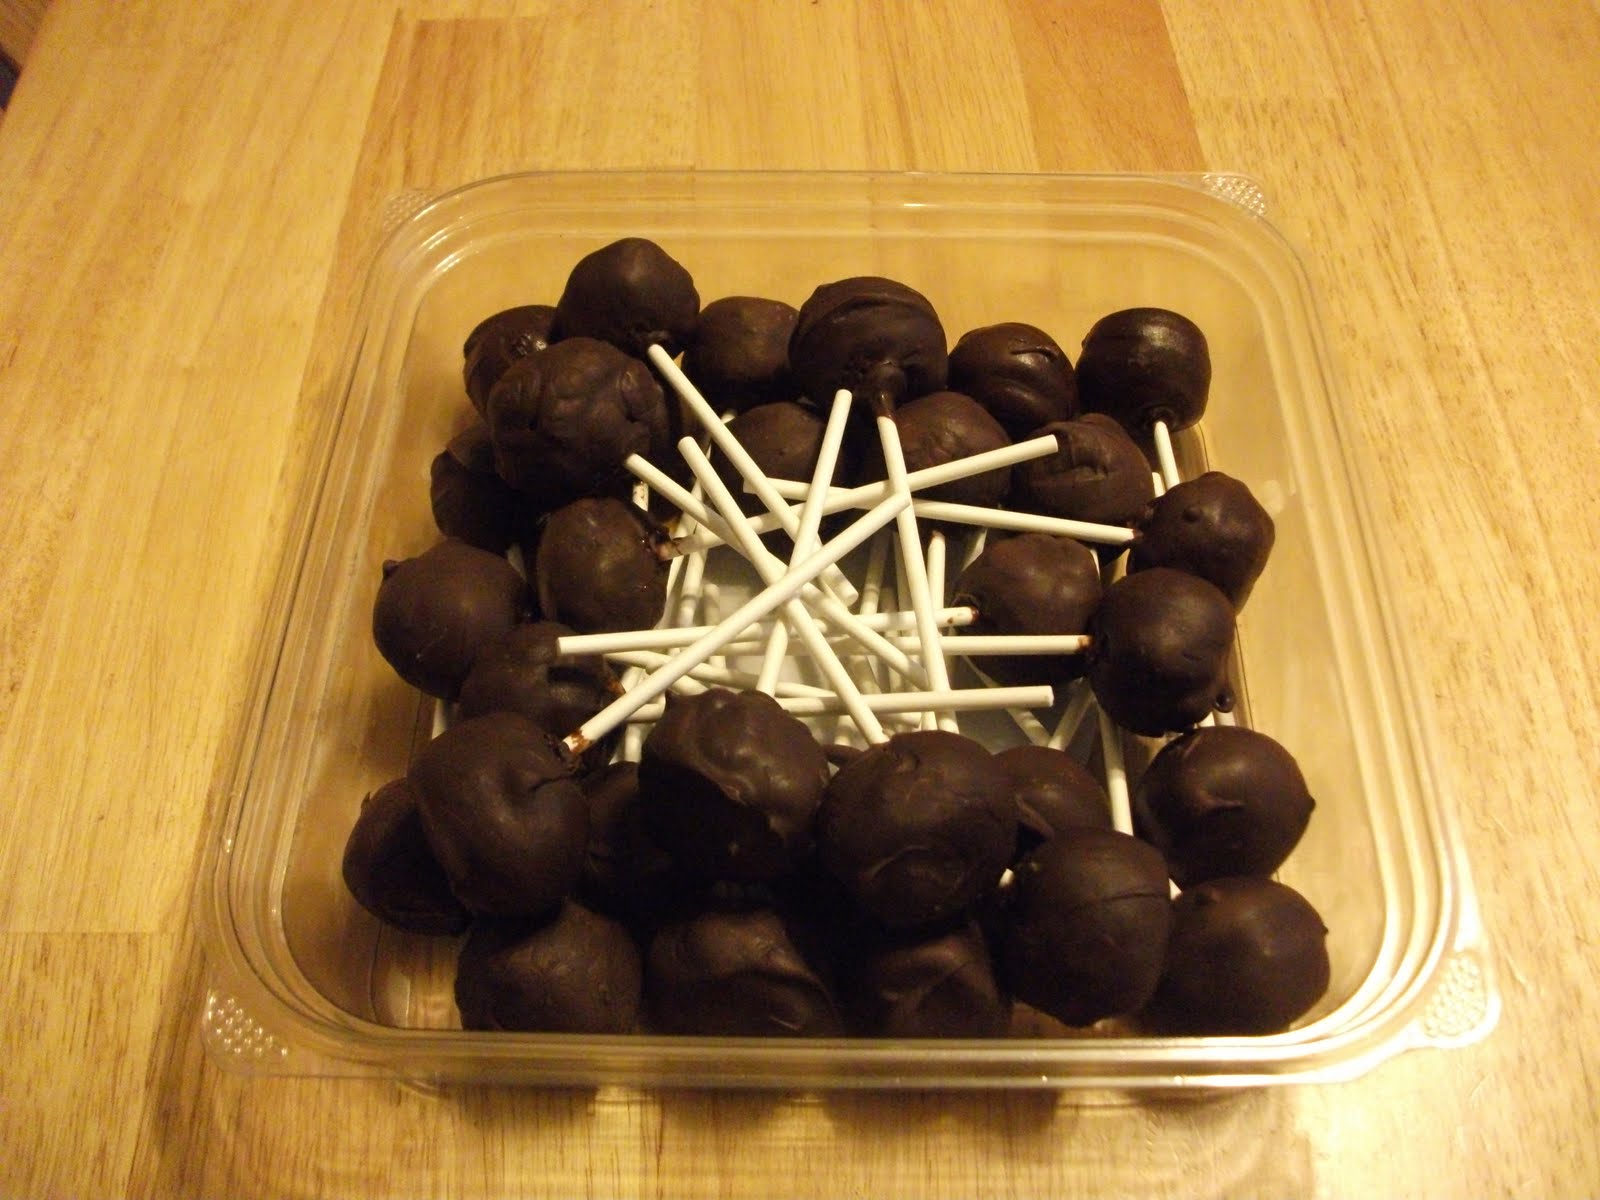
Once the stick is inserted, dip the cake ball in the chocolate and give it a nice, even coating, and then place the stick end in the styrofoam to let the chocolate dry.
All in all, they came out deliciously wonderful. And the best part is that they can be made with any flavor combination of cake, frosting and coating chocolate.

The only real problem I had with the actual pops was getting the chocolate coating to melt thinner and smoother--which is in part due to my double boiler being on it's last leg (and that I have shamefully not purchased a candy thermometer yet) and the fact that I refuse to microwave chocolate. (I believe it degrades the chocolate to melt it such a way :P.) Getting them to cool took a little longer than it should have because the air was just so humid that day. But, for a first attempt, I think they came out wonderfully and I am already working on developing sugar free versions for a diabetic friend of the family.


